This is a simple post to show why and how to enable Continuation between Receive & Send Ports. I am going to use Tracking Profile Editor for this example.
1. Create a simple BizTalk Application with two schemas and a Map between the two schemas.


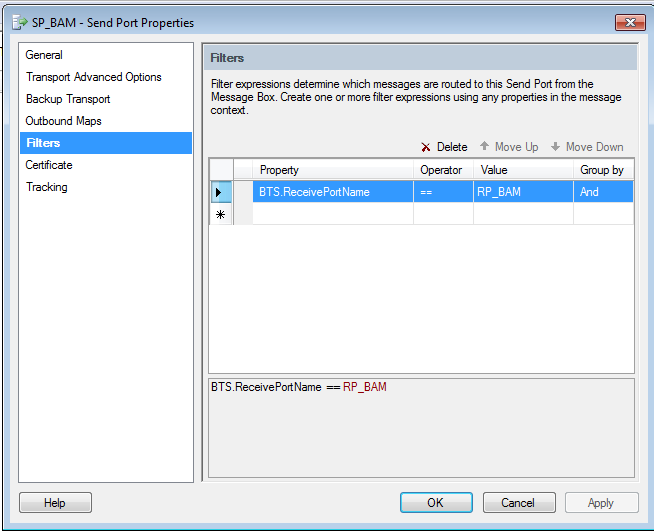
2. Build & Deploy the application. Create a File Receive Port (RP_BAM) and File Send Port (SP_BAM). Use map in the Receive Port inbound transform.

4. Now, I am going to create an activity that displays the Product Name, Quantity, Unit Price (captured from the Receive Port) and Total Price (captured from send port after the map)
5. Open Excel. Add a new Activity.

6. Add four Business Data Items as below. Save the Activity to Product.xml file.

7. Complete the activity and create a new View.

8. Give a name and select the Product Activity which is just created and select all the Activity Items.


9. Leave rest of the pages in wizard as default and complete the View creation.
10. Deploy the Activity using the command
bm.exe deploy-all -DefinitionFile:”<C:\Data\BAM\Product.xml>”

11. Open Tracking Profile Editor and open the activity you just deployed. From the Event Source, select Messaging Payload and Select the source schema deployed.


12. Map Unit Price, Name and Quantity from the schema to the Activity Items.

13. Right click Name and Select Set Port Mappings -> Select the Port that was configured in Admin Console to receive this message. Do the same for Unit Price and Quantity. This step is to indicate that, these fields are to be populated from message coming through the selected Receive Port.


14. Now select Message Payload again from the Event Source drop down and select the Target Schema.(to fill the Total Price item)

15. Map the Total Price from the target schema. Select Port Mapping and choose the send port which is going to hold this Target message.

16. Go to Tools and click on Apply Tracking Profile

17. Now test your deployed application by dropping a file. Open BAM Portal.
18. Instead of seeing a single record in the BAM, you will see two records. One Contributed by the Receive port and the other from the send port. Ideally both the ports should contribute to the same record.

19. To resolve this, Continuation should be enabled between the two Ports.
20. Come back to tracking profile editor. Right Click the Product Activity Node and Select New Continuation

21. Select Messaging Property from the Event Source, Map the Interchange Id to the Continuation Folder. (You can use any of the common property between the Received & Sent messages. Interchange Id is generally common between receive and send).


22. Right Click the Interchange Id -> Set Port Mappings -> Map the Receive Port.

23. Right Click the Product Activity Node and Select New Continuation Id.

24. Rename the Folder as “Continuation” (the idea is both the folders should have same name). Map again the same Interchange Id to the newly added folder.

25. Right Click the Interchange Id -> Set Port Mappings -> Map the Send Port this time.

26. You are done. Go to Tools -> Apply Tracking Profile. Test again by dropping another file. This time, you see that only one record comes for both the Receive Port and Send Port.

Hope this gives you an idea on how to enable continuation using TPE.
No comments:
Post a Comment